
Getting the socket count wrong in a kitchen extension is one of the most common and most expensive mistakes homeowners make. Not because sockets are complicated, but because most people underestimate how many appliances end up on a worktop, and they make the decision too late, when changing it means cutting into freshly plastered walls. This guide walks through a practical method for counting what you actually need, room by room and surface by surface, so you can hand your electrician a clear brief before the first cable goes in.
Why does a kitchen need so many sockets?
A living room or bedroom has a handful of fixed appliances and some lamps. A kitchen is different. On any given morning the worktop might have a kettle, a toaster, a coffee machine, a food processor, a phone on charge and a tablet propped up for a recipe. That is six outlets from one short stretch of worktop, and none of them are unusual. Add a boiling water tap, an induction hob, an oven, a dishwasher, a fridge-freezer and an extractor, and you are already looking at a space with a dozen or more electrical connections before you have thought about lighting, underfloor heating or USB points.
The Building Regulations do not specify an exact number of sockets for a kitchen. What they require is that the installation is safe and that certain appliances are on appropriate circuits. The number of sockets is a design decision, and it is one worth spending time on.
How do you count sockets for a worktop run?
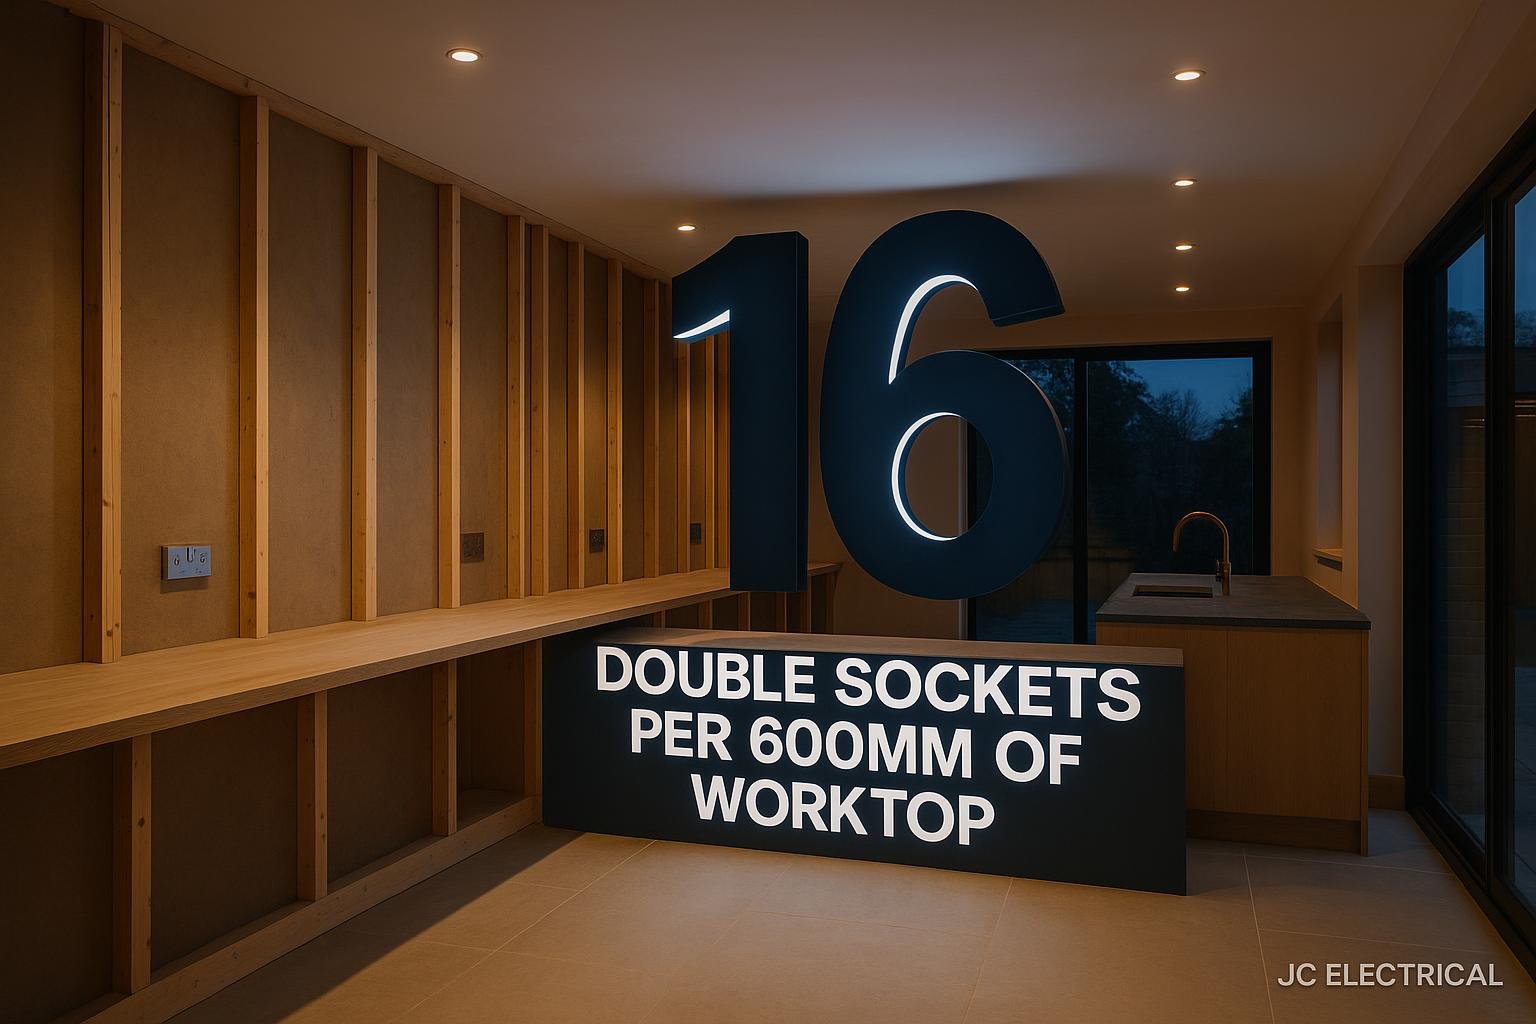
The most reliable method is to measure each run of usable worktop in millimetres and divide by 600. That gives you the minimum number of double socket outlets for that run. A 2,400 mm run of worktop beside the sink wants four doubles. A 1,800 mm breakfast bar wants three. Round up rather than down, and add one extra at each end if the run turns a corner, because corners are where people naturally put appliances.
Position matters as much as quantity. Sockets should sit 150 mm above the worktop surface so they are accessible without moving things around. Avoid placing them directly behind where a large appliance like a microwave will live permanently. Think about which sockets will be visible and which will be hidden behind a stand mixer that never moves.
If you are planning an island, treat it as its own separate worktop run and count accordingly. An island of 1,800 mm wants at least three doubles, ideally on both sides if people will work at it from either direction. Running cables to an island means either going under the floor or through a structural post, so this is absolutely a decision to make before first fix.
Which appliances need their own dedicated circuit?
Several kitchen appliances draw enough current that they need a radial circuit of their own rather than sharing a ring main with sockets. These are the ones to plan for:
- Electric oven or range cooker
- Induction or ceramic hob (sometimes combined with the oven on one circuit, sometimes separate, depending on the total load)
- Electric boiling water tap
- Dishwasher
- Washing machine, if it is in the kitchen rather than a utility room
- Tumble dryer, if present
- Fridge-freezer (not always required on its own circuit, but worth doing)
Each of these needs its own breaker in the consumer unit and its own cable run. When you are planning a kitchen extension in Beaconsfield or the surrounding villages, this is the list to go through with your electrician at the design stage, because each one affects how many ways your consumer unit needs to be, and whether you need a new or upgraded board.
For more on how the electrical work fits into the wider build programme, the guide to new build and extension electrics in Beaconsfield covers the full scope from consumer unit to completion certificate.
What about under-cabinet lighting and USB outlets?
Under-cabinet lighting is often an afterthought, and it should not be. It is practical task lighting for the worktop, and it needs a switched spur or a dedicated circuit run at first fix. If you decide you want it after plastering, you are either chasing walls or running surface cable, neither of which is tidy.
USB outlets are in a similar position. A double socket with USB-A and USB-C ports built in costs only marginally more than a standard double at first fix. Fit two or three of them, one near the breakfast bar, one near where the phone tends to live, and you remove a lot of adapter clutter from the worktop. Retrofitting them later means opening up a finished socket position, which is disruptive and costs more in labour than the original fitting would have.
Under-floor heating, if you are adding it to the extension, also needs its own circuit and a thermostat spur. Do not leave this off the list when you brief your electrician.
What mistakes do people most often regret?
Jess sees the same regrets come up repeatedly on kitchen jobs across Amersham, Gerrards Cross and the surrounding area. The most common ones are:
- Too few sockets on the main worktop run, usually because the homeowner counted appliances they currently own rather than the space available
- No sockets on the island, because the cable route looked complicated and the decision was deferred until it was too late to do it neatly
- Forgetting the boiling water tap until after the kitchen was fitted, which then required surface cable or a very disruptive retrofit
- Under-cabinet lighting added as an afterthought, resulting in a plug-in strip rather than a wired fitting
- No dedicated circuit for the fridge, so a tripped breaker takes out the food storage along with the worktop sockets
- Sockets positioned too low, behind appliances that then block access to them permanently
The common thread is timing. Every one of these problems is straightforward to solve at first fix and awkward to solve afterwards.
When is the right time to finalise your socket layout?
The answer is before first fix, and ideally before the stud walls go up. First fix is the stage when your electrician runs cables inside the walls, under the floor and above the ceiling void, before any plastering or boarding takes place. Once that stage is done and the plaster is on, adding or moving a socket means cutting into finished walls, making good, repainting, and paying for all of that on top of the electrical work itself.
In practical terms, you should have a finalised socket plan, including worktop positions, island layout, appliance list and any special requirements like USB or under-cabinet lighting, agreed with your electrician before the builder starts boarding out the stud walls. If your kitchen designer is involved, make sure the electrician has seen the kitchen plan, not just the architect’s drawing. The two do not always match, and the differences matter.
A good way to work through the plan is to walk the empty space with your electrician and talk through each appliance and each worktop run in turn. It takes an hour and it saves a great deal of trouble later.
How many sockets is the right number overall?
For a typical kitchen extension of 15 to 25 square metres with a full run of units, an island and a standard set of appliances, a reasonable target is 16 to 24 double socket outlets across all positions, plus 6 to 8 dedicated appliance circuits. Smaller galley-style extensions might need less. Larger open-plan kitchen-diners with a utility area might need more. The range at the top of this page gives a sense of what the electrical fit-out for different sizes typically involves.
The number that matters most is not the total, but whether every appliance has a socket within reach without an extension lead, and whether every worktop position has enough outlets that you are not constantly unplugging one thing to plug in another.
Ready to plan your kitchen extension electrics?
If you are at the design stage or about to start first fix, the best next step is to share your kitchen plan and appliance list so Jess can work through the socket layout with you before anything goes in the walls. Use the contact form or phone number on this page to send the details of your job.